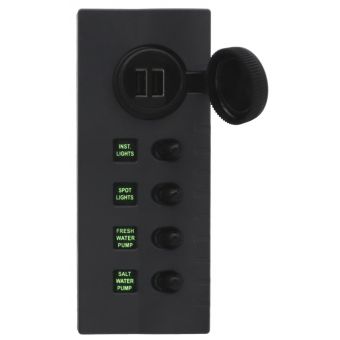
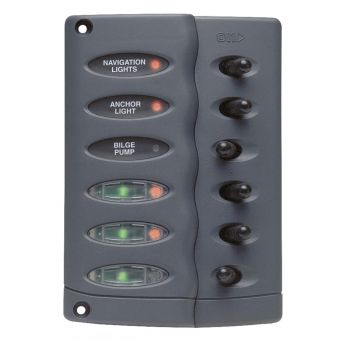
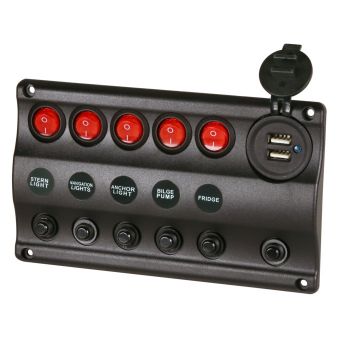
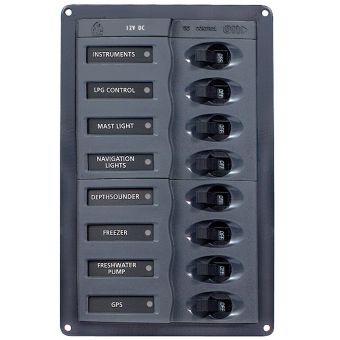
What is a switch panel?
In short, a switch panel enables you to control all the electrics on your boat (i.e. bilge pump, nav light, bait tank etc) from one central location. It is connected to the boats battery which enables it to power everything at once.

How to install a switch panel for your boat
What you'll need


Instructions:
1. Cut a hole where the switch panel will sit.
2. Check the panel fits and mark the screw holes.
3. Drill pilot holes for the screws and file down any sharp edges.
4. Screw the panel into position using duralac on the screws to prevent electrolysis with the aluminium. Ensure the screws are tightened evenly and you have a good seal against the surface so water cannot run behind it.
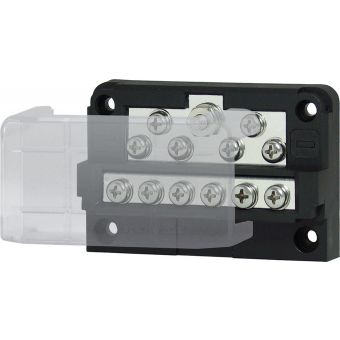
5. Confirm your busbar location by looking how your positive and negative cables run.
6. Screw in the positive busbar parallel to the negative and vice versa. Ensure you leave at least 100mm in between for cables and to prevent arcing.
7. Once complete, place terminal caps over busbars.
Do you have any questions?
Please, contact our friendly team on 0800 102041 or email: website@burnsco.co.nz